How to enable Google Cloud Storage?
Here we show how to enable Google Cloud Storage in Firebase console.
1.) Go to Firebase Console and select you project: https://console.firebase.google.com/
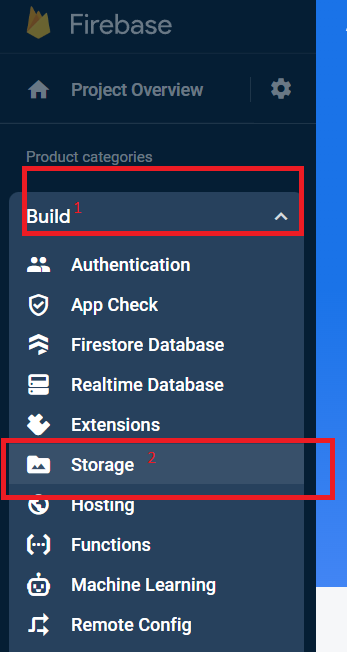
2.) Click "Build" (1) and "Storage" (2)
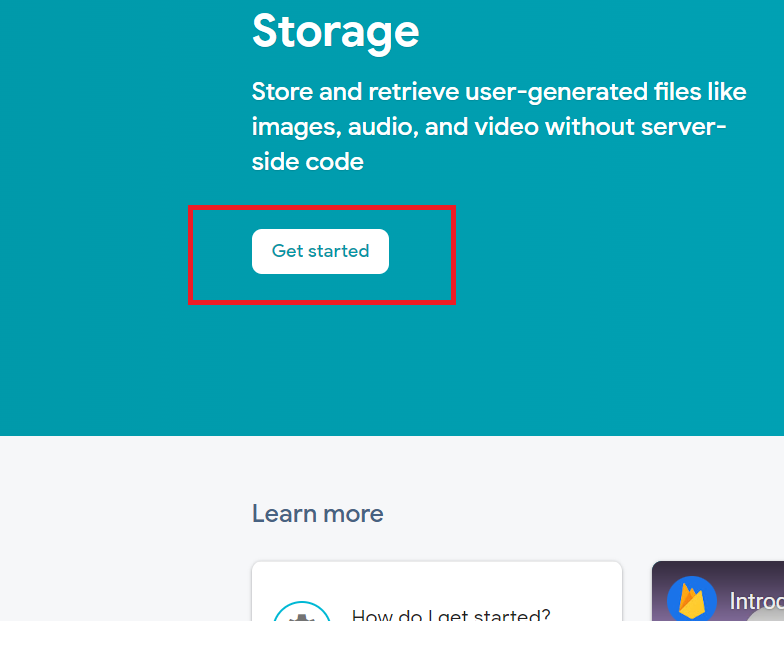
3.) Click "Get Started" button
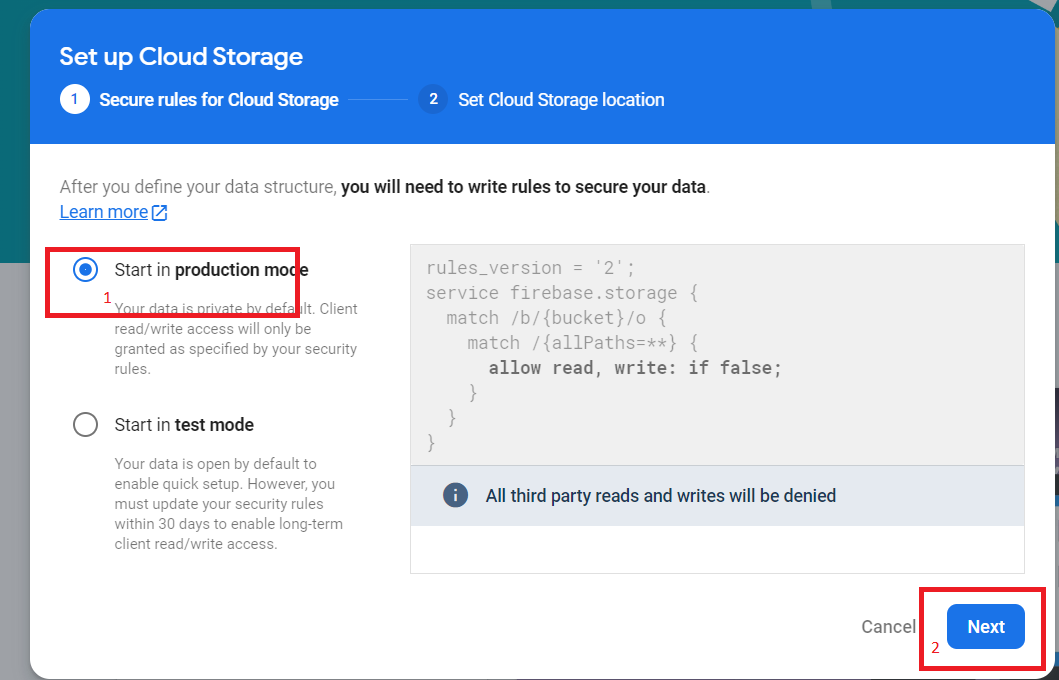
4.) Select "Production mode" and click "Next"
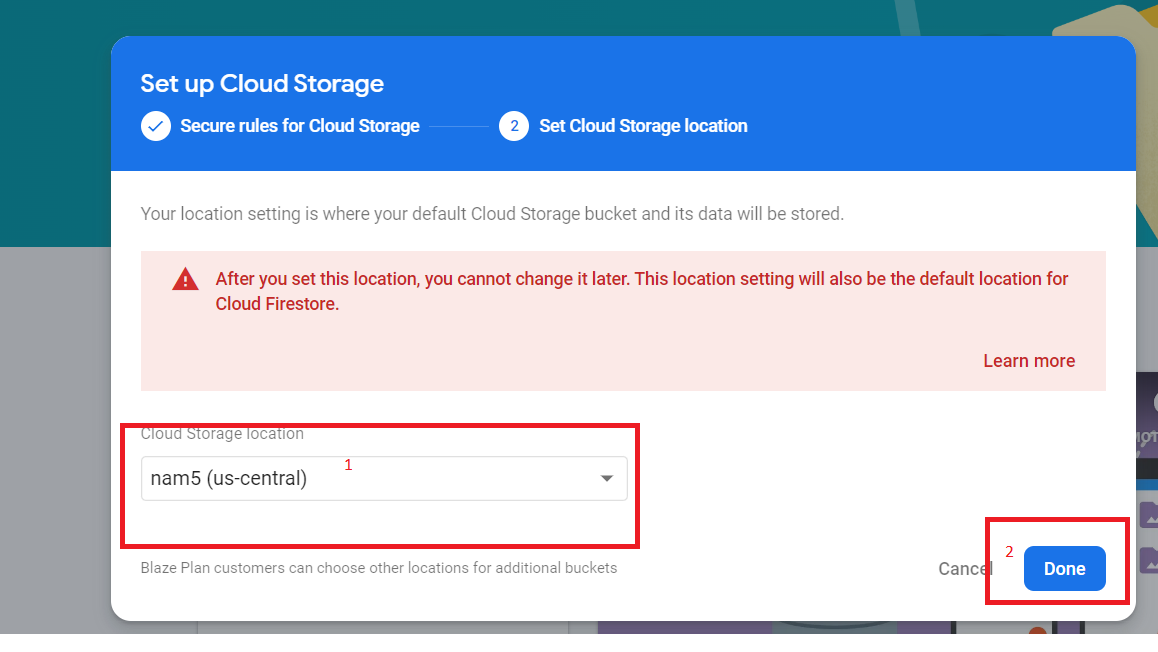
5.) Select location (1) and click "Done"
6.) Go to "Usage and billing" section
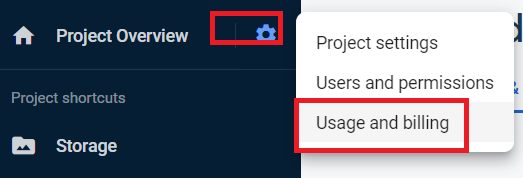
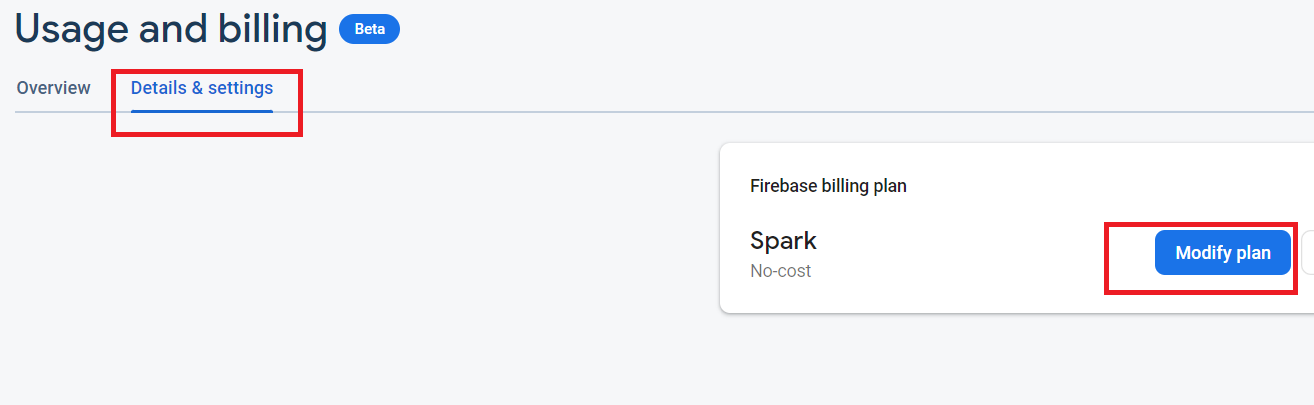
7.) Tab "Details and Settings", click "Modify plan"
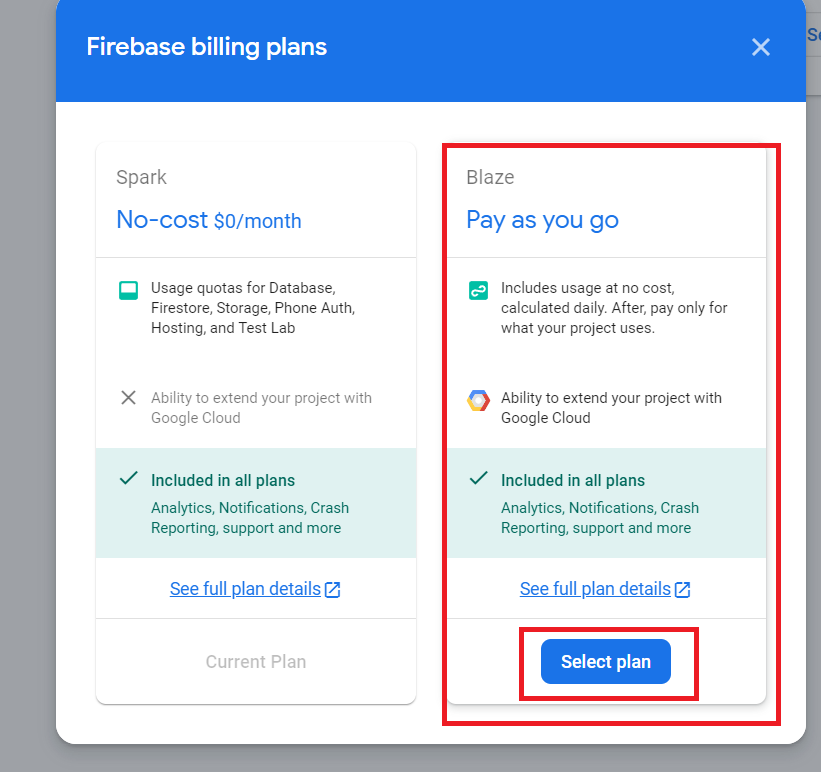
8.) Select "Pay as you go" and click "Select Plan"
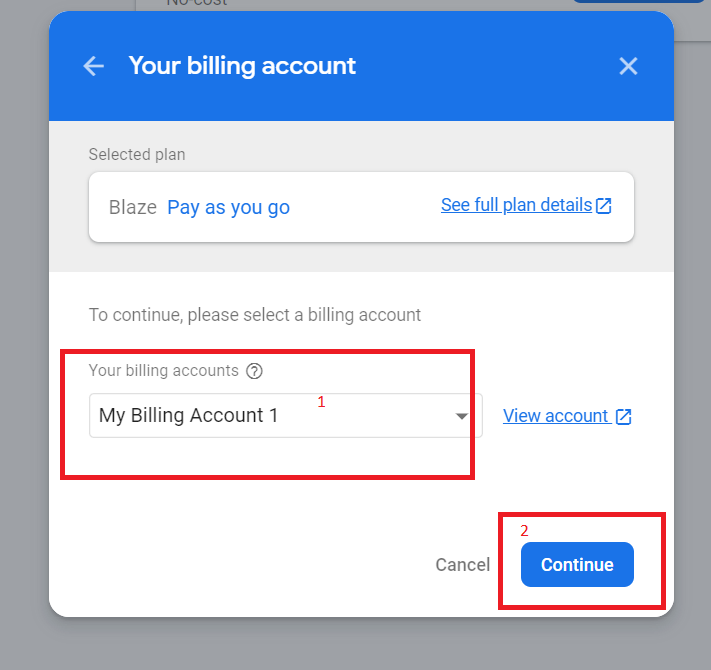
9.) Select you billing account and click "Continue"
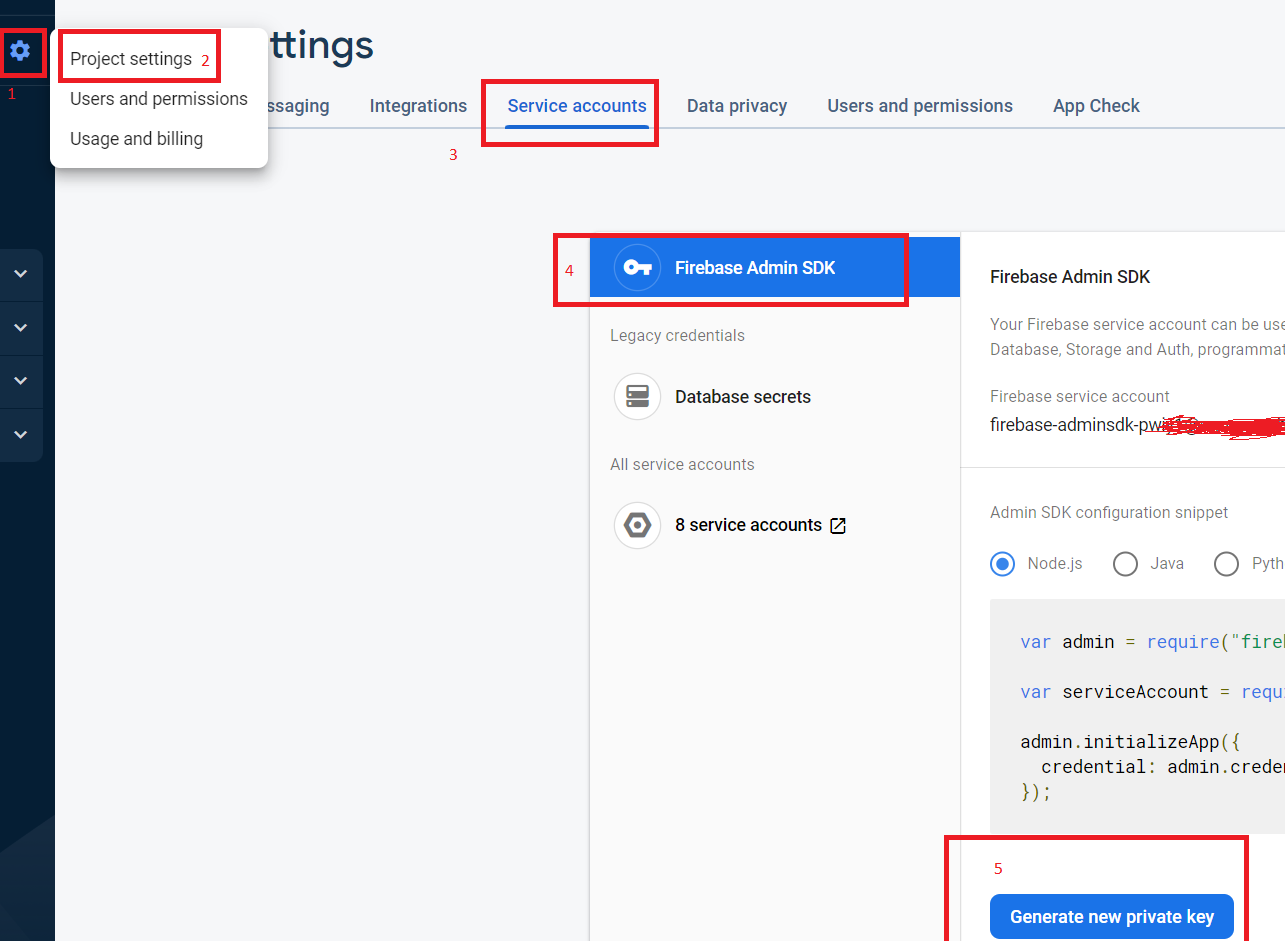
10.) You need service account file on you server side. Go to "Project settings" (1)(2), tab "Service accounts" (3), click "Generate new private key" (5)
11.) Downloaded json file copy to server side folder "js\firebase" (Dating App) or "public\js\firebase" (My Social Network)