How to add apple in-app purchase?
This guide will show you how to add apple in-app purchase to you project.
1.) go to you Apple Developer Account https://developer.apple.com/account/
2.) Click -> "Certificates, Identifiers & Profiles"
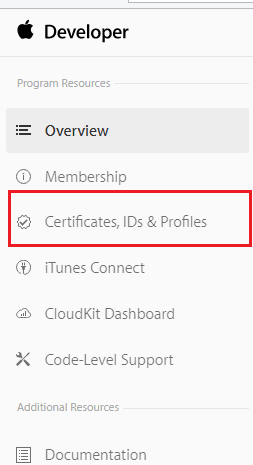
3.) See next screenshot
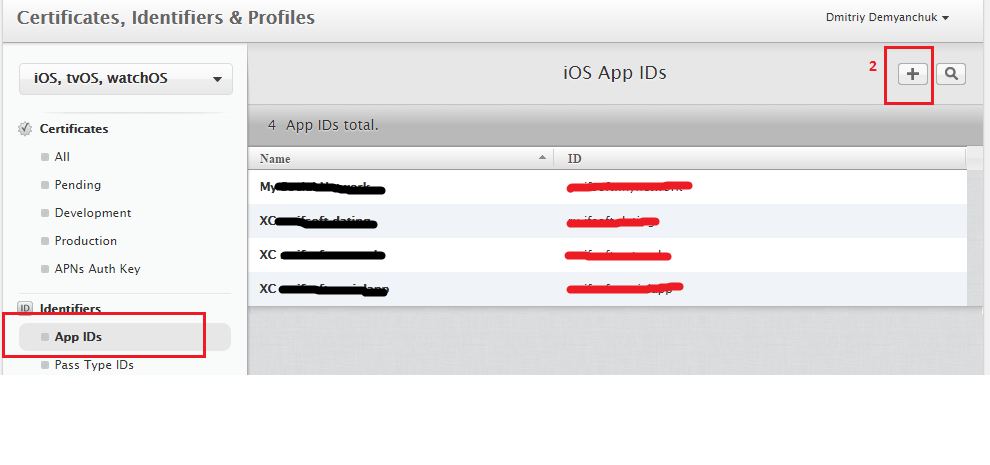
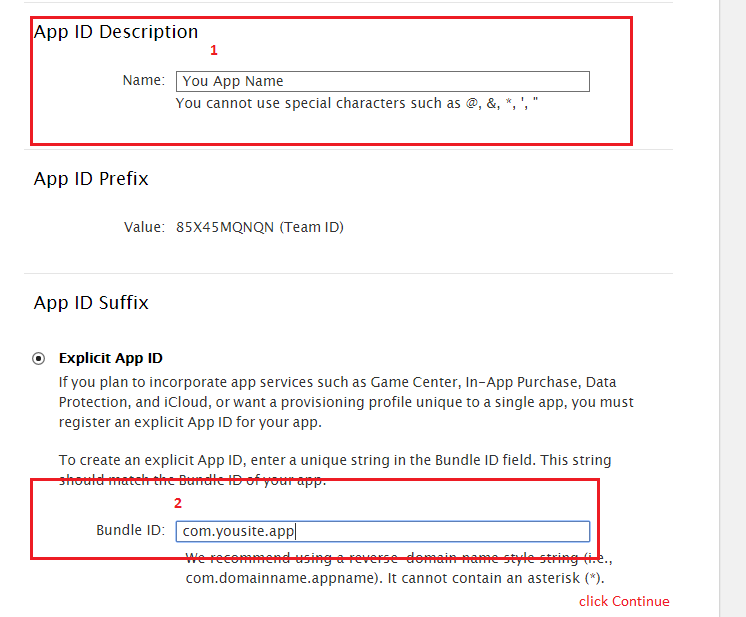
4.) Enter "App name" and "Bundle ID" and Click -> Continue
5.) After creating iOS APP, we have to go to iTunes Connect https: //itunesconnect.apple.com/
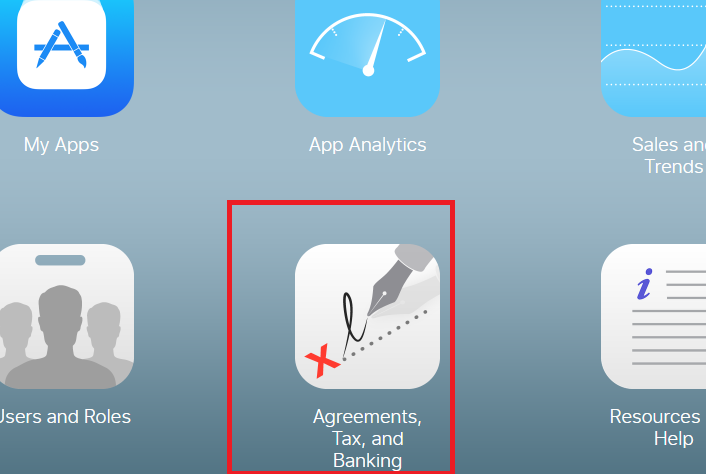
6.) If you do not specify personal information, bank account, etc - do it! See next 2 screenshots:

7.) go to iTunes Connect https: //itunesconnect.apple.com/ and Click:
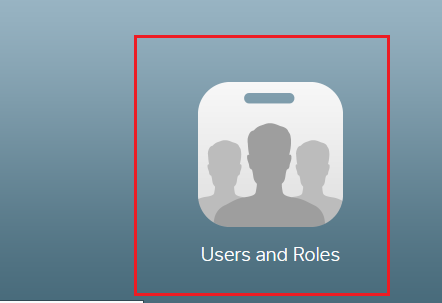
8.) Add users for purchases testing

9.) go to iTunes Connect https: //itunesconnect.apple.com/ and Click:
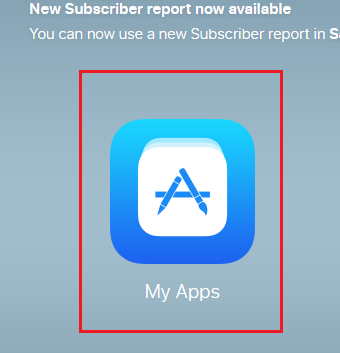
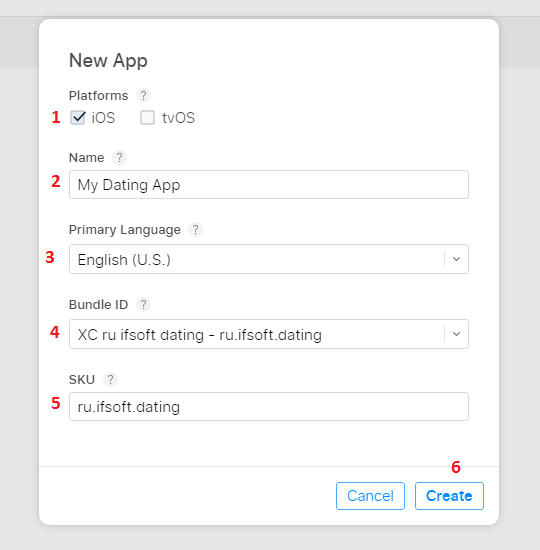
10.) Add your application:
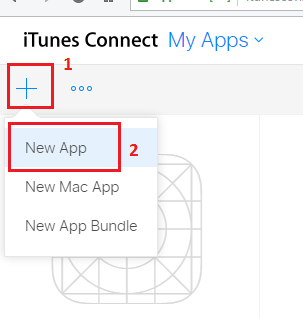
11.) See screenshot. Bundle ID - select previous created project in step 4
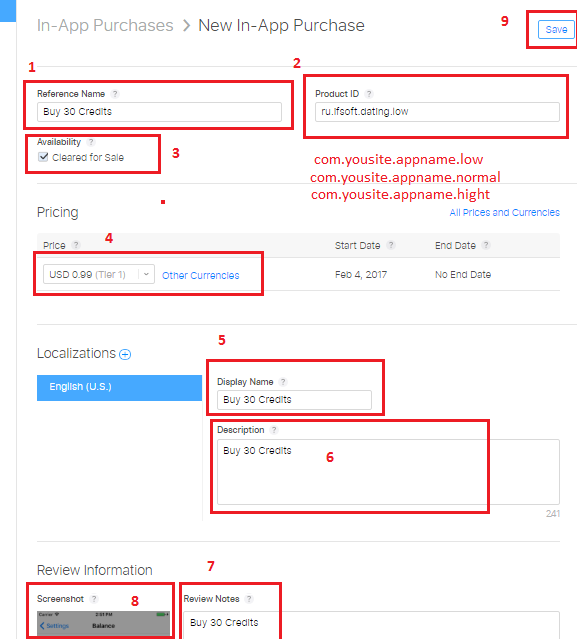
12.) Steps 13, 14, 15 - Run 3 times. It is necessary to establish three in-app purchases - to purchase 30, 70 and 120 credits.
To do this, mount a ProductsIds (!!! com.yousite.app - you Bundle ID !!!):
com.yousite.app.low - for buy 30 credits
com.yousite.app.normal - for buy 70 credits
com.yousite.app.highs - for buy 120 credits
To do this, mount a ProductsIds (!!! com.yousite.app - you Bundle ID !!!):
com.yousite.app.low - for buy 30 credits
com.yousite.app.normal - for buy 70 credits
com.yousite.app.highs - for buy 120 credits
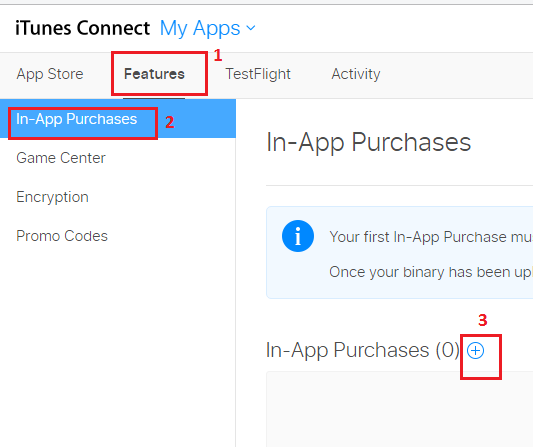
13.) Add in-app Purchases
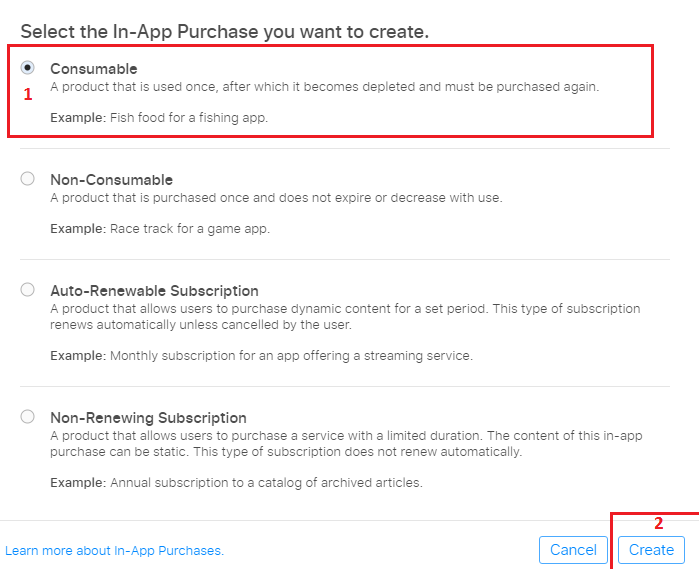
14.) Select -> Consumable
15.) Fill in all fields. The example in the screenshot:
16.) Open Project in XCode and in file BalanceController.swift change you ProductsIds

17.) Set to project you Bundle Id from step 4
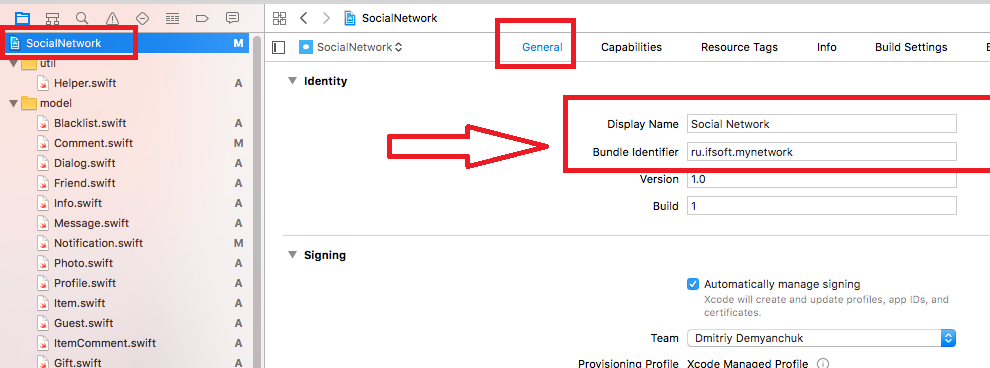
18.) And see next screenshot :)